December 01, 2009 1:08am Thanks Shutterview... your work is stand out so thank you for your kind words.
I use a few effects.
1st I duplicate the layer and then add a blank layer above that.
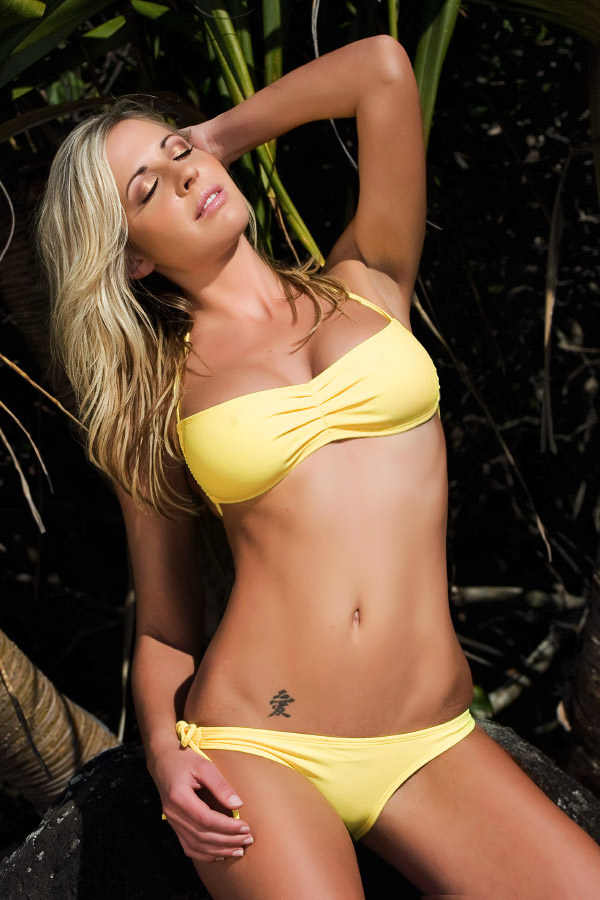
On the duplicate layer I remove blemishes and liquify the body if required.
On the blank layer above I use the clone tool set to around 25% on either lighten or darken depending on how I want to blend the dark shadow areas or highlight areas. I will select an area close by and use the clone tool to blend either the shadow area or highlight area to even out the skin tones. I will then reduce the opacity of this layer to make it look realistic.
I will then flatten this layer and make snapshot of it for later reference if required.
I will then duplicate the layer and use Portraiture from Imagenomic on that layer http://www.imagenomic.com/pt.aspx I will mask away areas that are not skin tones. I will then adjust the opacity of this layer to suit. There are many controls to edit the skin tones with this plugin.
I will then flatten and make a snapshot.
Lastly, to help sharpen the image a little and to further smooth the skin I use Noise Ninja on a duplicate layer and mask out areas that don't need loss in detail such as hair etc. This is generaly set anywhere between 40-65% opacity.
I don't do any other sharpening until the image is resized for web, printing etc.
Other global adjustments are tonality adjsutments, colour adjustments and I might dodge/burn in certain areas.
I like to keep it simple with the editting as I find that I tend to over do things, so I am working on less is more.